What is it?
Once you’ve had your main site set up, you may need to turn this into a “Class” site if you’ve also requested a set of student sites. If you haven’t yet requested a site yet, head over to our Learning Spaces page or our Request a site page for more information!
What does it do?
This sets up controls for your class site, including setting up moderation settings on the main class site. It is also what will link individual student sites to the central site, allowing anyone with a “teacher” role to access those student sites.
What should I know?
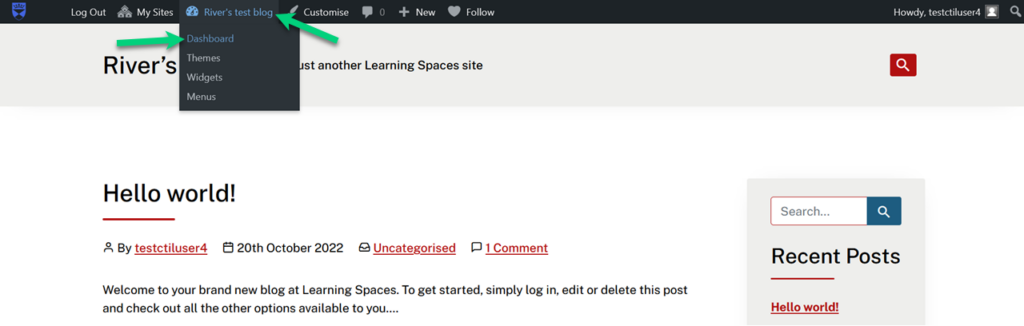
Step 1: Log in to your Learning Spaces site, hover over the title of your blog in the black bar at the top of the screen and click on Dashboard.
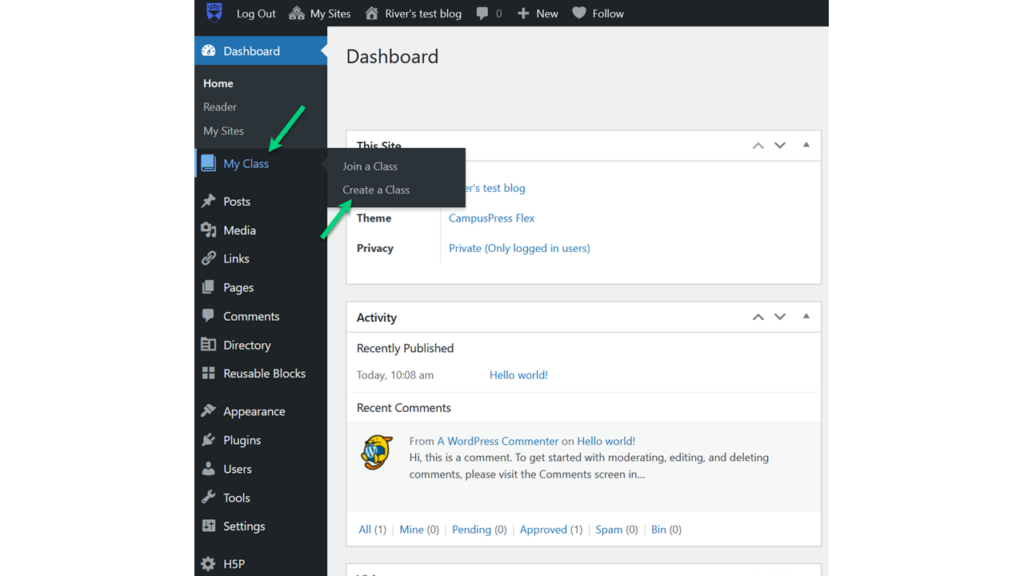
Step 2: In the menu on the left-hand side of the screen, hover over the link that says “My Class” and select “Create a Class”.
Step 3: At the top of the page that will now appear, tick the box for This is a class blog.
Step 4: Please closely read the other options on this page and make the selections you would like your site and your student’s sites to have. Each option has a description next to it that explains what it does, so we won’t replicate that here.
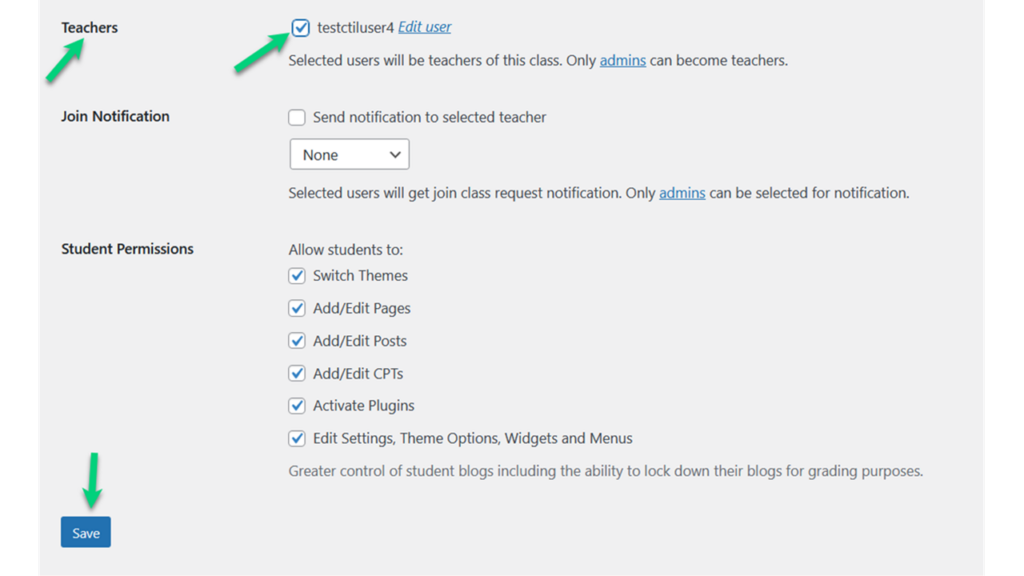
However, you should pay special attention to the Teachers line and use the tick box next to each person who ought to be able to view the student blog pages.
Step 5: Click Save when you’re done!