What is it?
You will be able to share your screen, an application or the whiteboard, upload and share content during a session.
What does it do?
Use the Share Content tab to see all the options available to you to share during your sessions.
What should I know?
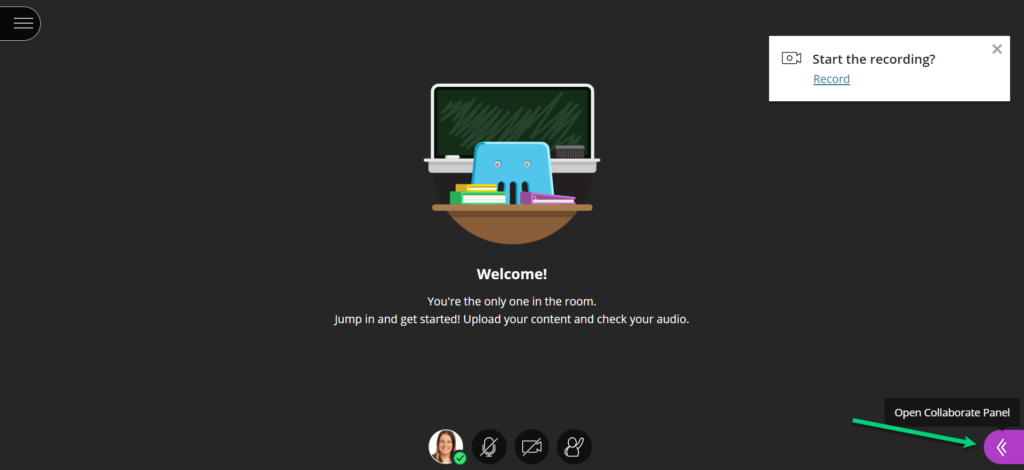
Step 1: Open the Collaborate panel on the bottom right-hand side of your screen.
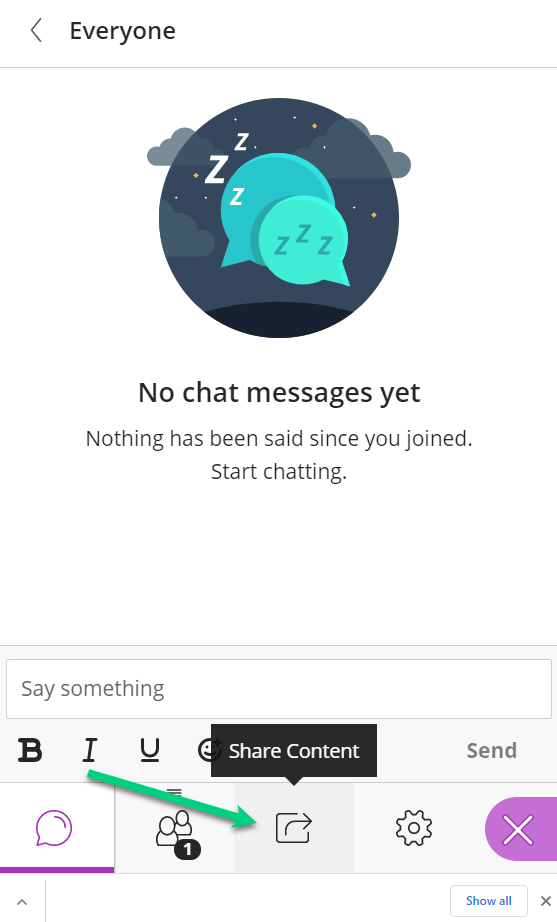
Step 2: Select the Share Content tab (this is the third option from the bottom).
Share blank whiteboard
You can use this to draw, create shapes, point to, and add text on your whiteboard. You can use the bin icon at the far right-hand side of the screen to clear the entire whiteboard. Immediately before that is an icon that will allow you to download the whiteboard.
Click the stop sharing icon (a square with a circle around it) when you are finished.

Share application/screen
You can use this to share your screen, or any allowed windows or browsers by using the drop-down menu to see what is available to share and make your selection.
Click the stop sharing icon (a square with a circle around it) when you want to stop sharing.

Share camera
This option is often redundant as you can share your webcam using the video icon in the middle and bottom of your screen. However, if you have multiple cameras available you can select your second camera to share here.
Share Files
Step 1: You can upload a PowerPoint or PDF file here by clicking on the “Add Files” box or by dragging and dropping from your file explorer.
Step 2: Once uploaded, click “Share Now”.
Step 3: If you have uploaded a PowerPoint file, you will also have the option to decide what slide you want to start sharing from.
Note: Not all file types are supported, you can add PowerPoint files, PDFs and images. PowerPoint files are ‘flattened’ when they are uploaded, so interactive elements like animations will be lost. Please allow time for the files to be uploaded – this will vary based on file size and internet speed.

Step 4: If you have uploaded a PowerPoint, you can use the arrows at the bottom of the screen to navigate between slides.
You can also use the editing tools here to draw lines, shapes, add text, or use the pointer to direct the audience to a point on your file.
Click the stop sharing icon (a square with a circle around it) when you are finished.