What is it?
You may decide you want to release your modules in a sequence in line with the topics due to be covered each week. This method can only be applied to Learning Modules and not individual items in your course content i.e., folders and documents.
What does it do?
Creating sequential release of your Learning Modules works in a similar way to defining the release conditions of course content items. Sequential release locks the content so that students must access the items in the specified order.
What should I know?
Step 1: Find your Learning Modules and click on the three dots to open the menu. Select the option for Edit.

Step 2: Tick the box for Forced Sequence.
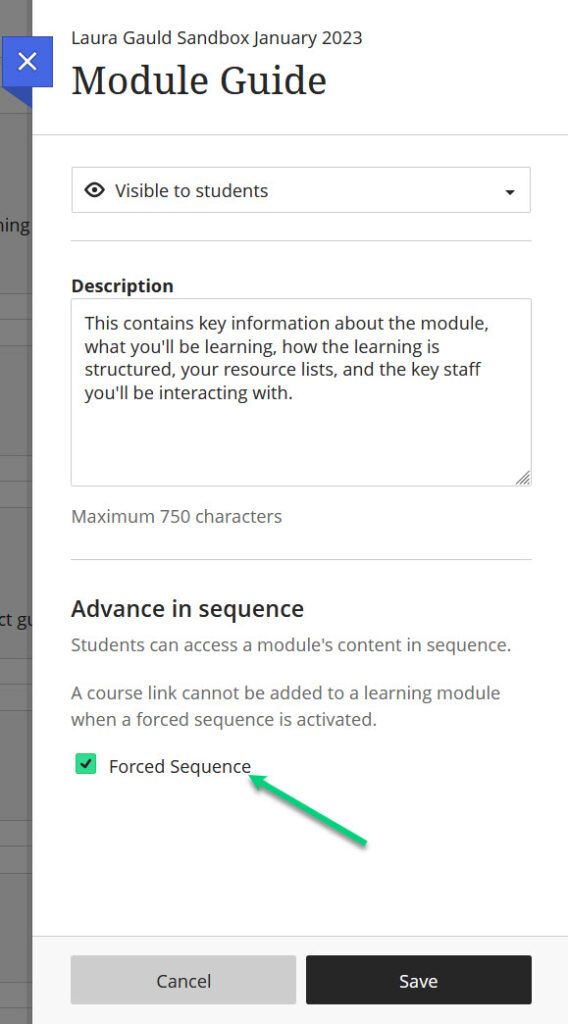
Step 3: Save your work
Step 4: Test the Learning Module with the Student Preview Mode. We always recommend that you use the Student Preview Mode before releasing content to students, but it can be particularly important when using sequential release. It is very easy to miss an individual item’s visibility settings, and testing it in this mode will provide you with the exact experience a student would have
Note: If you need to make changes to the sequence after testing it, you’ll need to first remove sequential release from the Learning Module. You can do this by changing the visibility settings back to Visible while you make your edits. Repeat the process above when you’re done editing.