What is it?
A document in My Dundee is essentially a webpage, you can use these to add basic content like text and images. You can also attach files or embed videos.
What does it do?
When they are in a folder or learning module, students can use arrows at the top of the page to navigate between content. You can use multiple documents to add separate content and information within a topic or week.
What should I know?
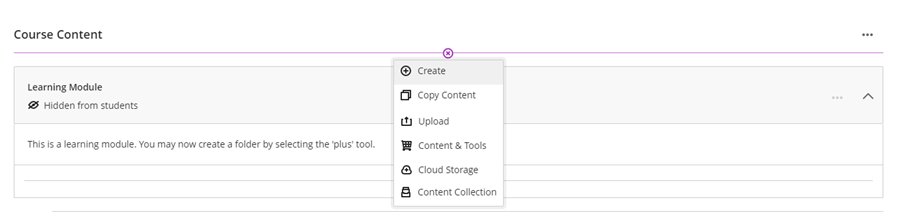
Step 1: To create a document, click on the plus tool icon where you want your document to appear (this will highlight purple when you hover over it). Select Create from the drop-down menu that appears.
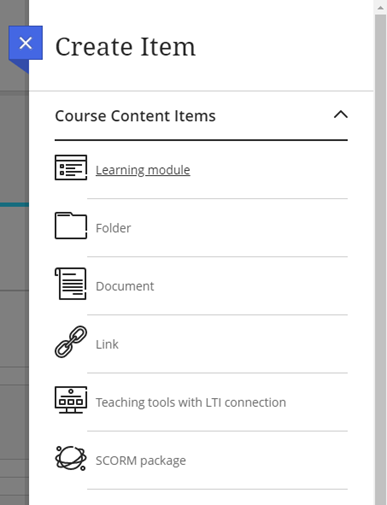
Step 2: Select Document from the side panel.
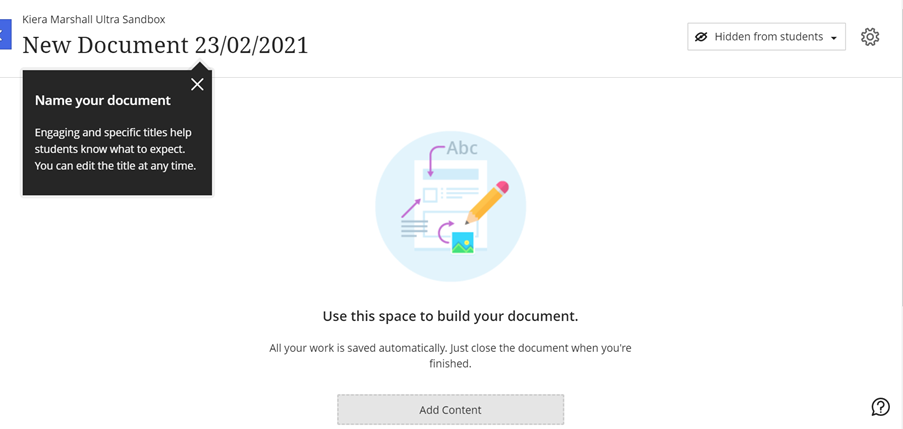
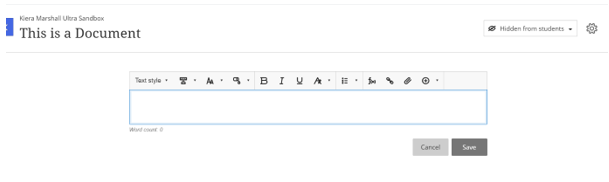
Step 3: A new page will appear. You can re-name the document by clicking on the default title (New Document and date) and entering your desired title.
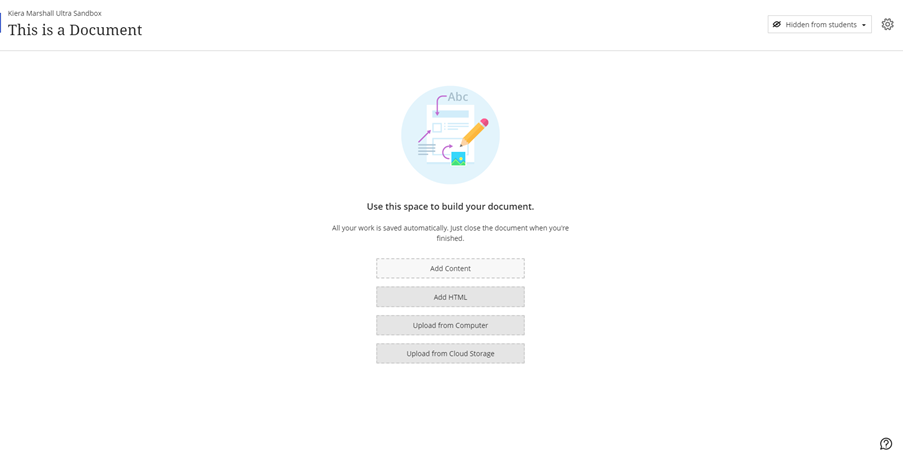
Step 4: In the middle of the page, you can click Add content to begin building your document. From this, you can add basic content by clicking Add Content, or choose to add HTML or add a document from your computer.
Note that you can also attach files from the basic “Add Content” option, too.
Step 5: You can use the WSYWIG editor to add your content. This should look fairly familiar, but there are a few things specific to Blackboard documents that you should pay attention to. The first one is the very first icon – this controls if the text you are entering is a title, header, sub-header or paragraph. This is very important from an accessibility point of view, so make sure that you use these instead of simply making a header by making the text bold or a larger font.
The next several icons are the typical font controls, but if you click the three dots to the right of the underline icon, you’ll see options for adding a strikethrough, super- and sub-scripts and code snippets. A few icons past that, the “Paragraph” icon allows you to add and customise lists.
The last thing to note in this top bar is the plus sign icon at the far right. You can use this and the External App option to embed videos from YuJa.
Step 6: Save your work!