What is it?
Recording a Collaborate session will allow a live session to be watched again at a later date.
The software allows users to download recordings, but according to current university policy, this should not be enabled. You can review the policy here for a full explanation.
What does it do?
A recording can be created within your Collaborate session.
What should I know?
Step 1: When you’re in your session and you’re ready to begin recording, click the menu on the left-hand side of the window and select Start Recording.
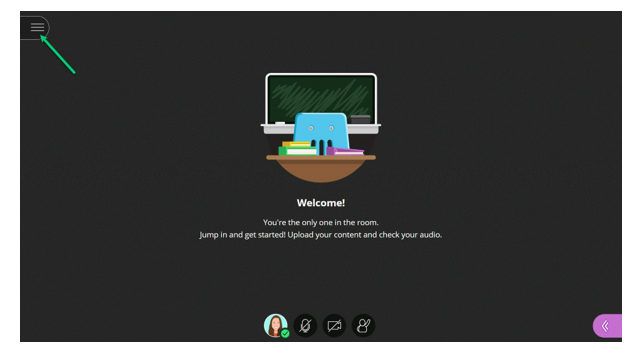
Step 2: When you’re done, go back into the same menu and select Stop Recording.
Step 3: When you’re recording, there will be a small image of a camera with a red dot in the middle of it by the menu icon.
Note: If you’re using Breakout Rooms, the recording will stop automatically once the main room is empty. Once you’re ready to return to the main session, you can resume recording.